
There are a few foodie things I know to be true. The first pancake is always the worst, baked macaroni cheese is the ultimate comfort food and Grannies make the best jam. I suppose I should clarify that my Granny especially is excellent at jam making. Grannies just have that jam-making knowhow – they have gigantic berry pans hidden high in their kitchen cabinets that earn their kitchen space come summer, magically turning punnets of berries into jams and apples from the tree in the garden into jelly. There are always clean jars hidden somewhere, ready to be reused with new concoctions come summer and autumn. And they always win the red ribbons for their jarred delights at village flower shows for their spread-me-all-over-a-hunk-of-bread-right-now deliciousness.

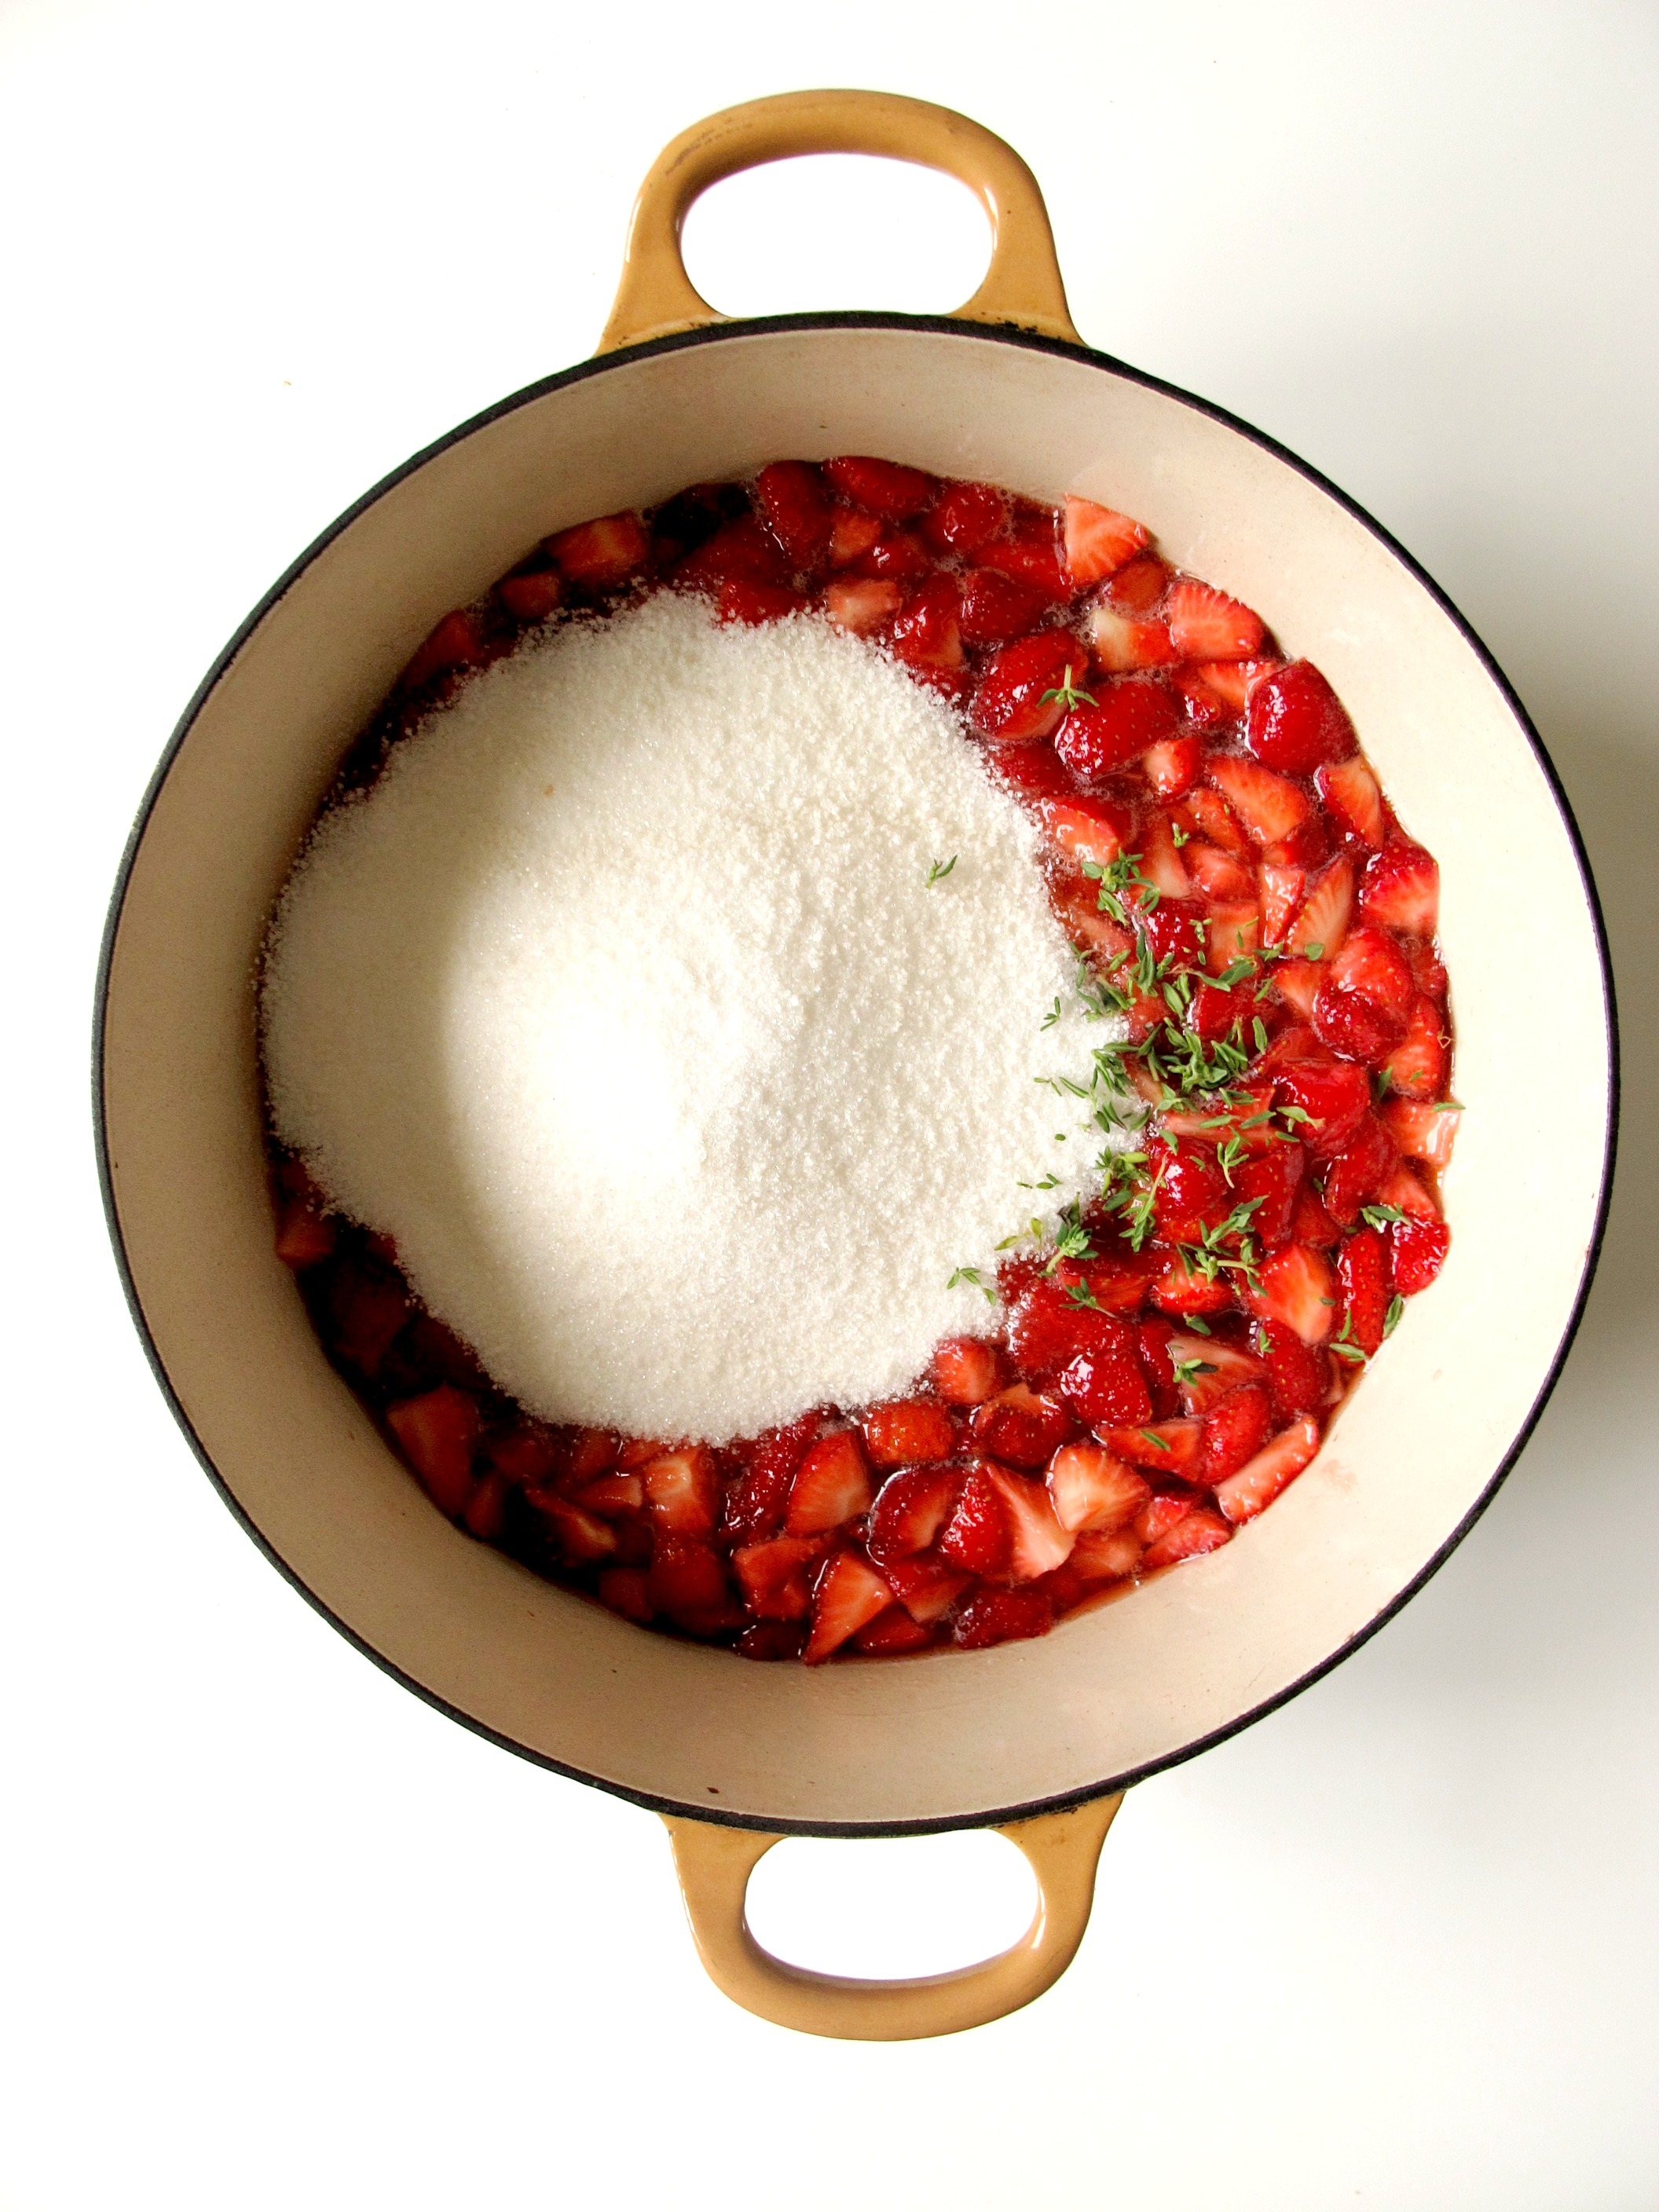
Which is why one Monday evening it seemed strange that I stood all alone slicing strawberries plucked from supermarket punnets instead of from a basket of pick-your-own in the company of my Granny. I also macerated that mountain of fruit in half its weight of sugar over two nights, cutting down the boiling time dramatically as opposed to standing over a pan for hours watching fresh fruit slowly break down into that sweet syrupy spread. The juice of half a lemon helped the jam reach its setting point far quicker, not to mention the addition of sprigs of thyme that perfumed the pot. In short, making this jam was an entirely different experience to my childhood memories of sticky fingers stirring a wooden spoon in a large copper pan.
It may not be the way my Granny would tackle a batch of jam, but in principle the idea is very much the same. No-one would doubt that the homemade variety, with its modest ingredients and fresh produce is far superior to the jars lined up neatly in stores in exchange for mere pennies. But for all the convenience pre-made jam gives us, we lose that summer feeling in our kitchens – the smell of strawberries and sugar melting down into a bubbling berry red, and the aura of homeliness and happiness that comes with memories of jamming in my Granny’s kitchen. In fact, whist making this batch, my sister was quietly studying in the corner making appreciative noises. I thought the smell was akin to opening a packet of Fruitellas – but simply put, she said it smelled just like jam.

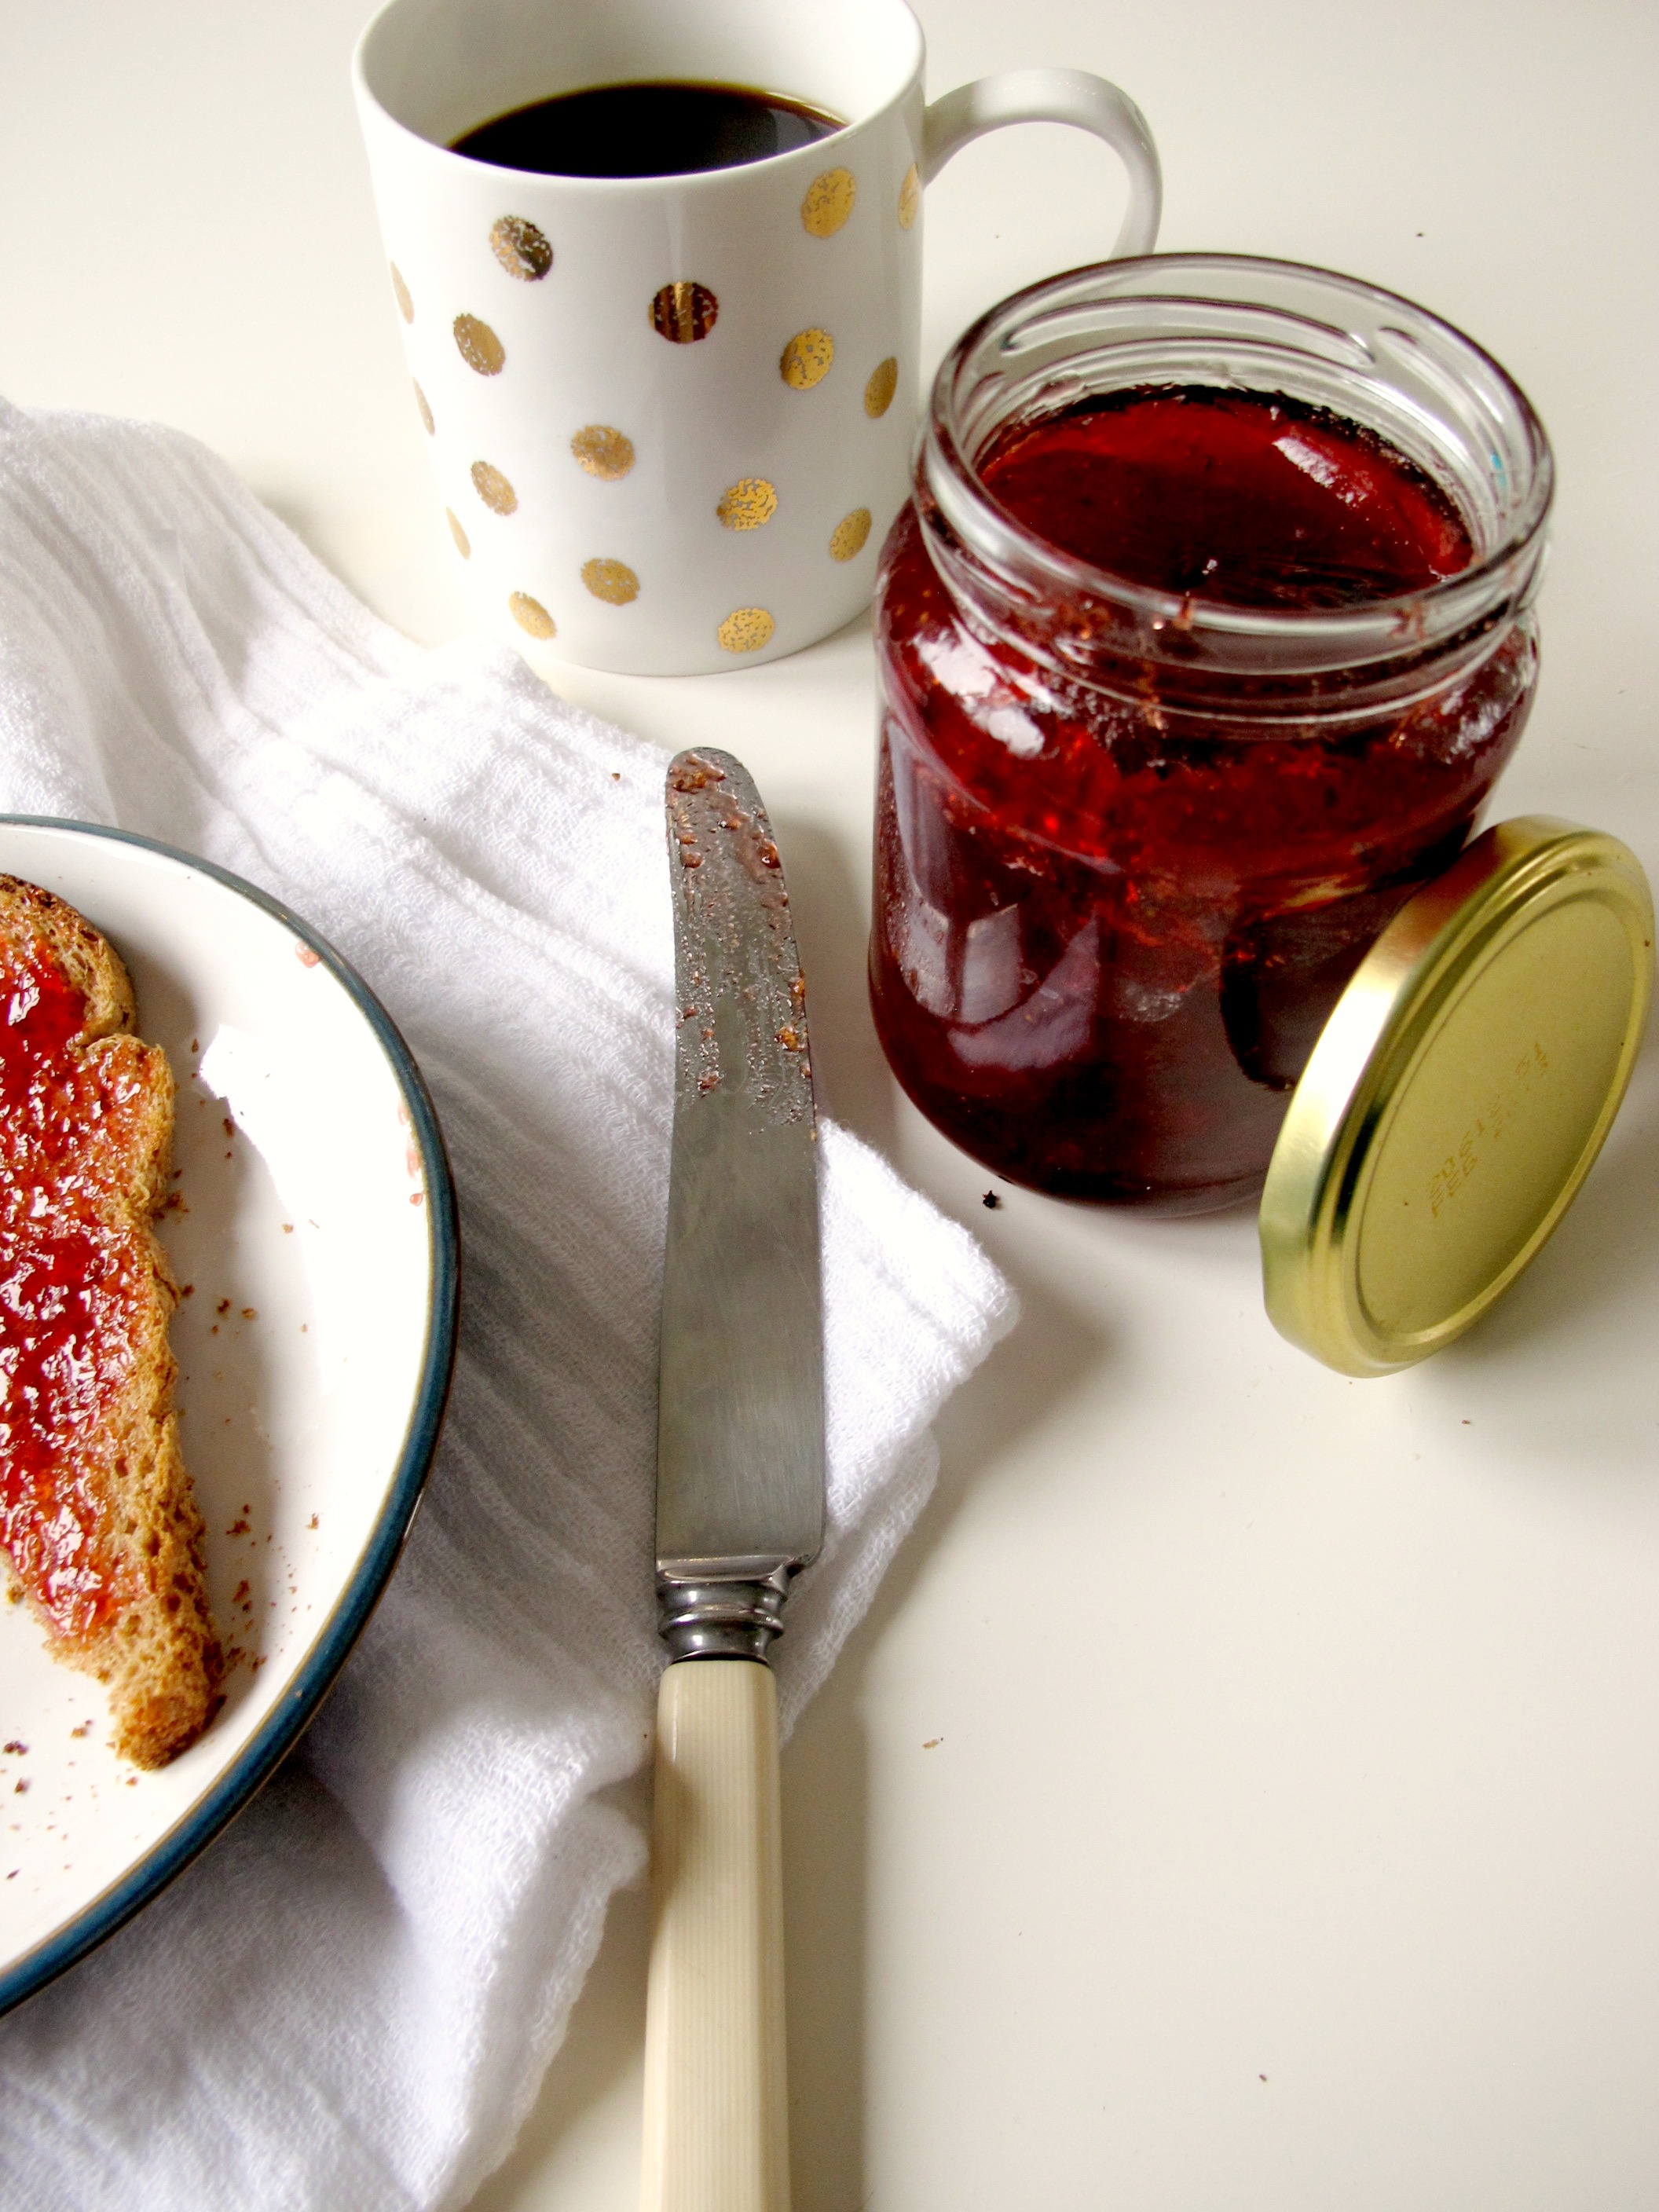
Homemade really is the best way to enjoy jam. It may require a little patience and a close eye, but the result is a sticky, oh-man-I-need-to-spread-this-on-bread-right-now kind of effect. It’s so perfect on toast, but the purpose of my early season jam making was to sandwich the layers of a classic Victoria Sponge for my godmother’s birthday cake. That recipe is still to come, but get ahead with your jam stocks and spend a lazy Sunday perfuming your kitchen with the fragrant smell of strawberries and thyme. For me, it’s just like being a teenager again – even if I did break the jammin’ rules slightly to get there.
- 1kg strawberries, washed, hulled and cut into quarters
- 1kg jam sugar
- 4 fresh thyme sprigs, leaves stripped
- Juice of ½ lemon
- 1 knob butter
- The night before you wish to make the jam, stir together the strawberries and half the sugar in a large bowl and cover tightly with clingfilm and macerate in the fridge overnight. I did this over two nights but it really doesn't matter if it is one or two nights – it just helps to speed up the process when it comes to actually cooking the jam.
- The day you wish to make the jam, pour the strawberries and the sugary juices into a large pot (like a le creuset) or a traditional berry pan and stir in the thyme leaves, lemon juice and the remaining sugar.
- Wash and dry your glass jam jars then draw around the bottom of each jar on baking parchment and cut out for when you seal the jars. You will then need to sterilise them – I do this in the oven by placing the jars and their lids on a baking sheet at 100oc and keeping warm until the jam is ready. You can also do this in a hot cycle on a dishwasher if you like. You will also need to place a freezer proof saucer in the freezer as well, which will help you check the jam is ready.
- Place the pan containing the berries over a low heat and stir until the sugar has dissolved then turn up the heat to a rolling boil. Set a timer for 10 minutes and let the jam boil, keeping an eye on it and stirring in case it gets too hot and spills over the side of the pan.
- Once the 10 minutes is up, remove the plate from the freezer and drop a small amount of jam on the plate. Wait a few seconds then push with your finger – it should wrinkle and not swirl around the plate like a liquid. If this hasn’t happened yet, place the plate back in the freezer and repeat, setting a timer for 2 minutes for each test. It took me around 6-8 minutes at this point but depending on the pan, heat and how long you left the strawberries to macerate, it could take up to 30.
- Once ready, remove from the heat and remove any scum that has risen to the top of the pan with a spoon and discard. Stir through the butter and leave to cool for 10 minutes, which will ensure the strawberries won’t sink to the bottom when jarred. Remove the jars from the oven and ladle the jam into a clean jug, carefully pouring into each jam jar. I managed around three jars, but it will depend on their size and shape as to how many you can make. Place the small baking parchment discs on top of each jar, pressing down to create a seal and then using a kitchen towel or mitt, screw the lids of the jars on tightly whilst the jam is still hot. Label and store in a cool, dark place for up to one year.

Yummy yum!
First time on your blog. Its beautiful!
Thank you Ami! Thanks for stopping by 🙂